I recently picked up a Carlinkit Wireless Apple CarPlay Dongle from AliExpress and wanted to see if I could get it to work with the Raspberry Pi 3. After some tinkering, I found a way of getting it to work by using a Raspberry Pi Android image and the application supplied with the dongle. In this post, we will go over the process of installing an android image to the Raspberry Pi, downloading the application, the settings in the application and the issues I found with the device and what I did to fix them. At the end of the article, I will sum up if it is even worth even purchasing one of these dongles.
Check out the video version of this blog post on YouTube.
Android for the Raspberry Pi
The Raspberry Pi has many distros that range from Raspberry Pi OS to Net BSD, Android has been ported many times to the Pi but most of the versions ported have been completely unstable or even cost money like Emerita OS. The version we are using today is the best one I could find after searching, This is KonstaKANG LineageOS 16.0 (Android 9). This image is available for both the Raspberry Pi 3 and 4 which is available to download here (Raspberry Pi 3 Version, Raspberry Pi 4 Version). Note both these versions are still not 100% stable and if you are experiencing any crashes or issues it might be worth trying other Android images for the Pi.
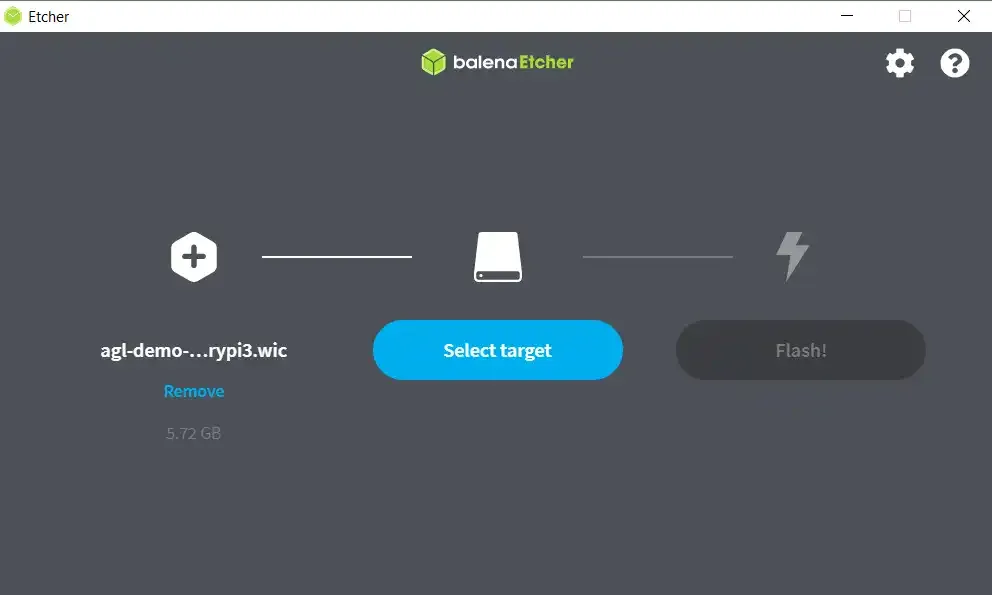
Once you have downloaded the image for your Raspberry Pi you will need to grab balenaEtcher, this program is used to write images to an SD Card. To write the image you will need to open balenaEtcher and select the file you want to flash, then insert the SD card into your computer, select the device and start the flash. Once the flash is complete you can remove the SD card and insert it into the Raspberry Pi. You are now ready to power up the device and go through the setup process for the operating system, this involves setting the time, region and a few other items. After this, you should be at the home screen and ready to proceed onto the next step.

Installing the Right App
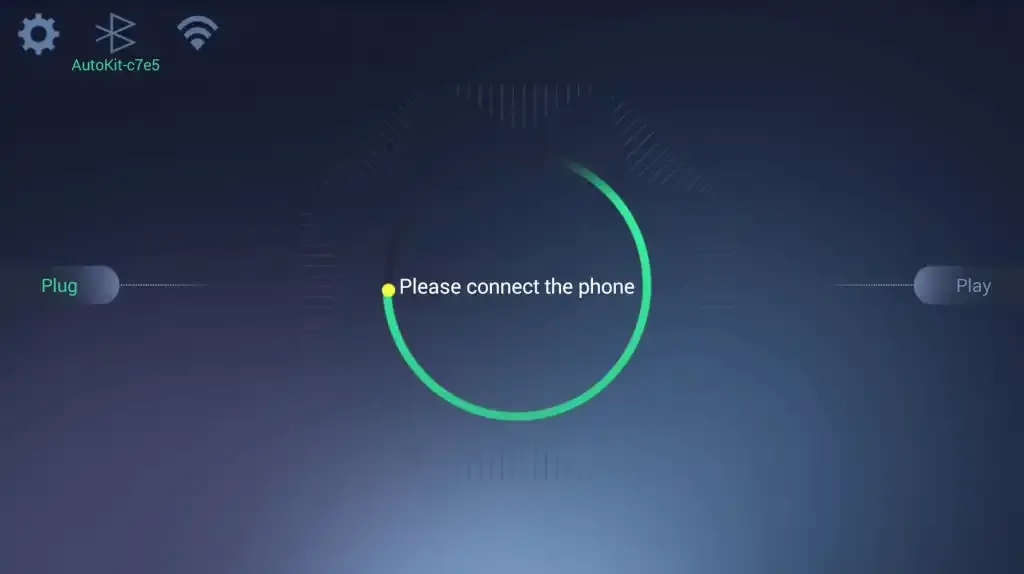
From my research I have found there to be two different types of dongles that are used for CarPlay, these two dongles run different apps. The Carlinkit dongle I have is the first type which uses the AutoKit application and the other type uses the ZBox Application. I have found the download for the AutoKit application here (http://www.carlinkit.com/autokit) but I have been unable to find the ZBox application online (If you have a copy feel free to forward it to me to host). Installing each app is quite simple as all you need to do is direct your browser to the links above and the APK will start downloading, once the download is complete you will need to go into settings and enable installing untrusted packages. Once that is done you can open the APK and proceed with installing the application.

Customizable
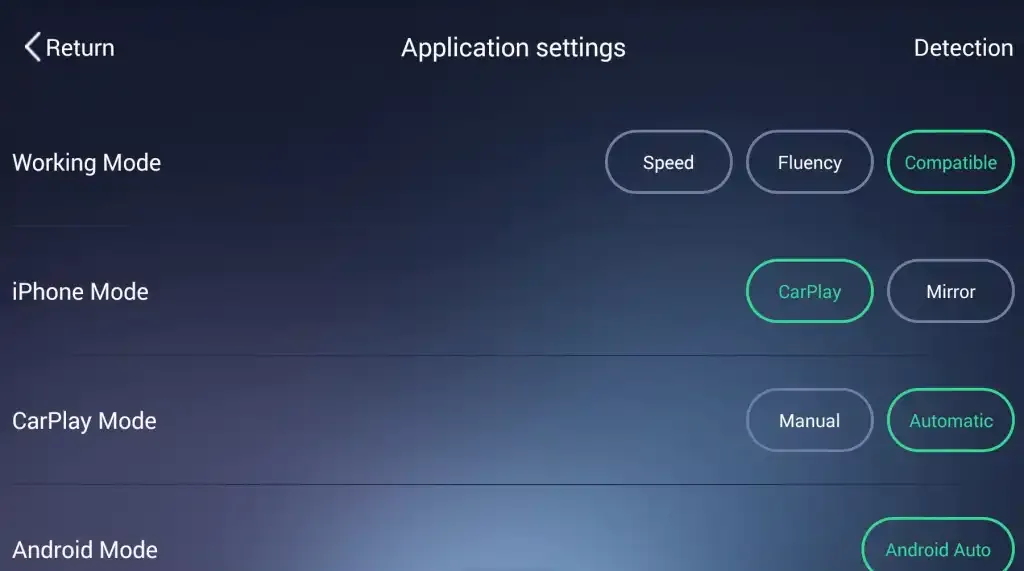
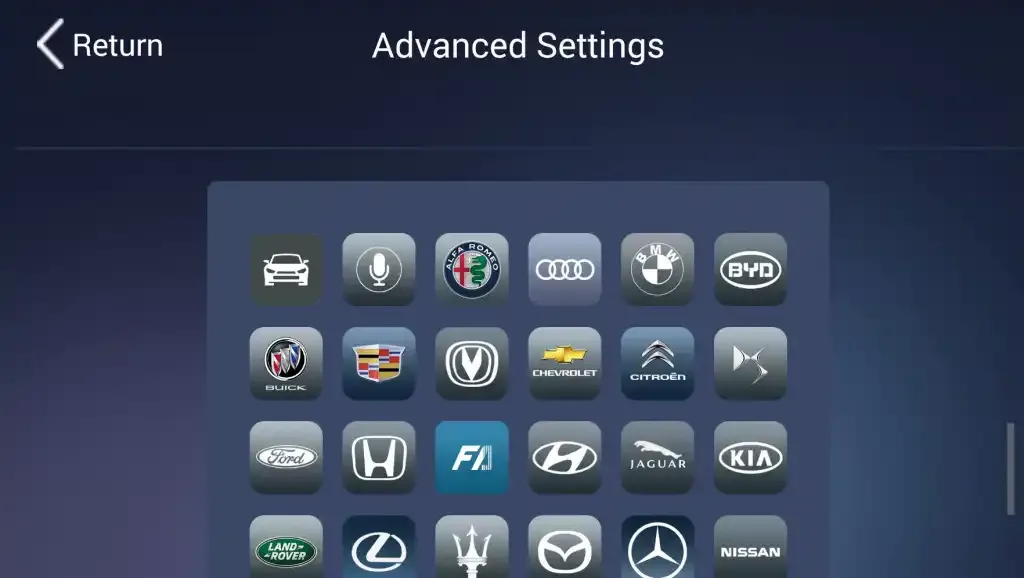
Settings With the AutoKit application, there are many settings to configure, some of these settings are vital for having the app function correctly and some are cosmetic. The setting you may need to play around with is the working mode setting, this setting changes the way the app communicates with the CarPlay dongle. The speed mode is the fastest mode but does have issues with some devices like the Raspberry Pi where it stutters due to the low CPU performance, fluency mode works on some other devices but threw an error screen on the Pi, compatible mode is the slowest mode but it works correctly on the Pi. Another option of note is the ability to change the logo of the exit button in CarPlay, there is a number of popular brands and other icons to choose from.


Issues and Fixes
Over the period of testing out the device I found many problems caused by the application and operating system, these ranged from choppy music to no display at all. The most common problem I got was the overall choppiness with the application, this would be either choppy music, slowness in the user interface, device crashes or even weird messages like the one pictured below. The fix I found for this issue was to set the speed of the device to compatibility, which fixed all of the above issues except for slowness in the user interface. I couldn’t find any way of having the device run at a smooth speed and had to deal with the slowness. Another issue I had with the Android image not working on my HDMI to DVI converter and this was due to the video driver with KonstaKANG Android Images not supporting some display devices. The way I solved this was by connecting it to another display and enabling the SwiftShader software renderer by opening a terminal and entering the following command.
./rpi3-graphics.sh swiftshader
Summary
Overall I got the CarPlay dongle working with the Raspberry Pi but I found the experience to not be acceptable for use on a day to day basis. The Raspberry Pi Android image ran well but the application for the dongle was not stable and even after the fixes caused the device to crash at times. I would not recommend buying this device and instead put the money towards a car stereo or device that has CarPlay inbuilt.